Planning a furniture makeover with Vintage Paint can be both exciting and challenging. While the painting process allows your creativity to flourish, accurately determining the amount of paint needed is a crucial step that often gets overlooked. Running out of paint halfway through a project is frustrating and can affect the final result. To help you avoid this common pitfall, this guide provides essential equations and tips for calculating your paint needs for a flawless makeover.
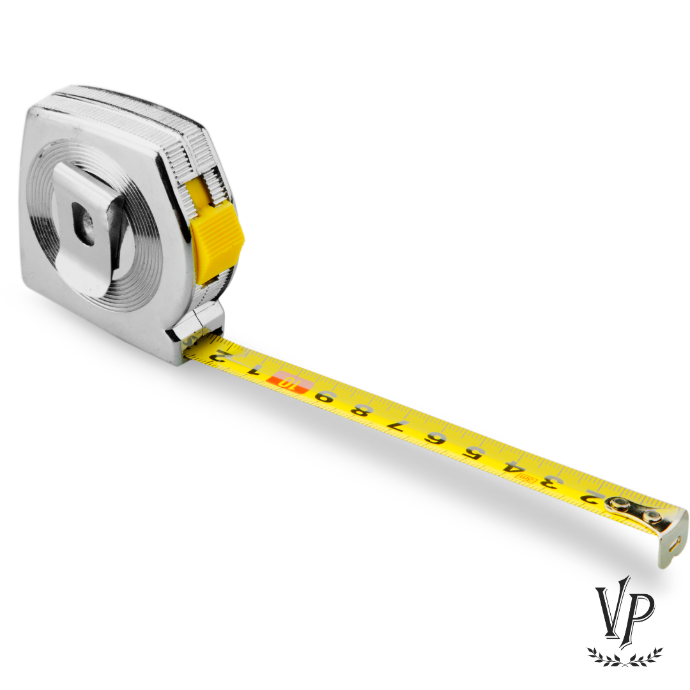
Measure Twice, Paint Once
Before heading to the store for Vintage Paint, grab your measuring tape. The success of your project begins with accurately measuring the surface area of the furniture you plan to paint. Measure the length, width, and height of the piece. Don't forget to measure drawers, doors, and other components separately, keeping a detailed record.
It's wise to overestimate slightly rather than underestimate the amount of paint needed. Consider all areas that might require a coat of paint, even those typically hidden or covered by hardware.
Understanding Coverage
Vintage Paint is known for its excellent coverage, but the number of coats needed can vary. Lighter colors might not cover imperfections or dark surfaces as well as darker shades. Always calculate your paint requirements based on your specific surface and desired finish.
For example, if you're painting a dark surface with a light color, using a mid-tone base coat can save paint and ensure even coverage.
Another possibility to save paint is to use our white Stain Blocker as a base on dark surfaces.
measure
find the total surface area to cover
coats
multiply the total surface area by the number of coats you need for perfect coverage
coverage
divide the nume by the coverage specified on the paint can
round up
round up to the nearest whole number
Calculating Your Paint Needs
With the paint coverage in mind, it's time to do some calculations:
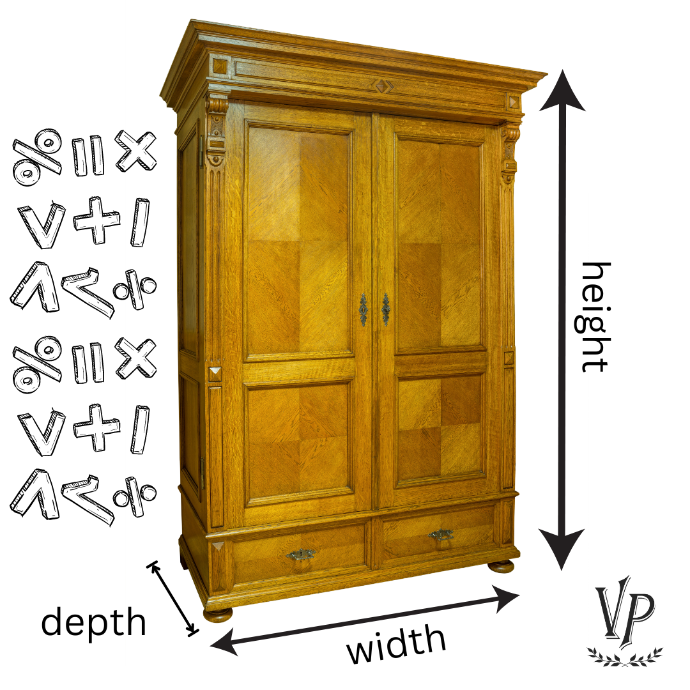
1. **Measure the External Surface Area of a Piece of Furniture**
Step 1
Measure the exterior dimensions of the furniture and write them down.
Example: 2-door wardrobe
- Width: 120 cm = 1.2 m
- Depth: 60 cm = 0.6 m
- Height: 210 cm = 2.1 m
(to convert cm to m, divide by 100).
Step 2
Apply the formula:
{BASE} x{HEIGHT}
to calculate the area of each part.
- Front of the wardrobe: 1,2x2,1= 2,50 m
- Side of the wardrobe: 0,6x 2,1= 1,30 m
- Top of the wardrobe: 1,2x0,6= 0,72 m
Step 3
Add the results together:
2,5 + 0,72 + 1,3 + 1,3 (because the wardrobe has 2 sides) = 5,76 sqm
This is the total surface area to cover.
Step 4
Multiply the total surface area by the number of coats you need for perfect coverage.
This varies based on the material you are painting and other factors. As a general guideline:
- multiply by 2 for a non-light color
- multiply by 2 for a light color on light furniture
- multiply by 3 for a light color on dark furniture
Let's say that we want to paint with Dusty Blue an old wardrobe made by walnut wood.
5,76 x 2 = 11,52 sqm
Remember, these calculations apply if you want to repaint only the exterior of a piece of furniture. If you want to repaint the interior as well, repeat the calculations for the internal surfaces you wish to paint and then add this to the exterior surface area (if you plan to use the same color for both the interior and exterior).
2. **Determine Coverage**:
Divide the number you got from step 4 by the coverage specified on the paint can.
11,52/7=1,64 tins
Since one tin 700 ml covers 7 square meters, you'll need 1,64 tins.
**Vintage Paint Coverage**:
- 100 ml - about 1 sqm
- 700 ml – about 7 sqm
- 2.5 liters - about 25 sqm
3. **Round Up**:
Always round up to the nearest whole number to ensure you have enough paint. In the example above, you would round up to 2 tins. It's better to have a little extra for touch-ups.
Final Touch-Ups
For a professional finish, follow these quick tips before you start painting:
**Stir Thoroughly**: Mix Vintage Paint well to ensure uniform color and consistency.
**Prepare the Surface**: Ensure your furniture is clean and dry.
**Practice First**: Try a few strokes on a disposable surface to gauge coverage.
**Think in Layers**: Don’t be discouraged if the first coat doesn’t look perfect. Vintage Paint builds beautifully with each layer.
With careful planning and a touch of creativity, your Vintage Paint project can transform your furniture into a stunning piece. By precisely measuring and calculating your paint needs, you'll ensure a successful and enjoyable DIY experience.
Happy painting!
For more inspiration go and check our social media pages:
