Vintage chalk Paint offers endless possibilities for transforming your walls. Whether you have a modern loft or a classic cottage, this paint can bring character and depth to your walls. This certified Ecolabel and A+ rated paint guarantees superior indoor air quality, making it a safe choice for every room, including children's bedrooms.
Why choose Vintage chalk Paint?
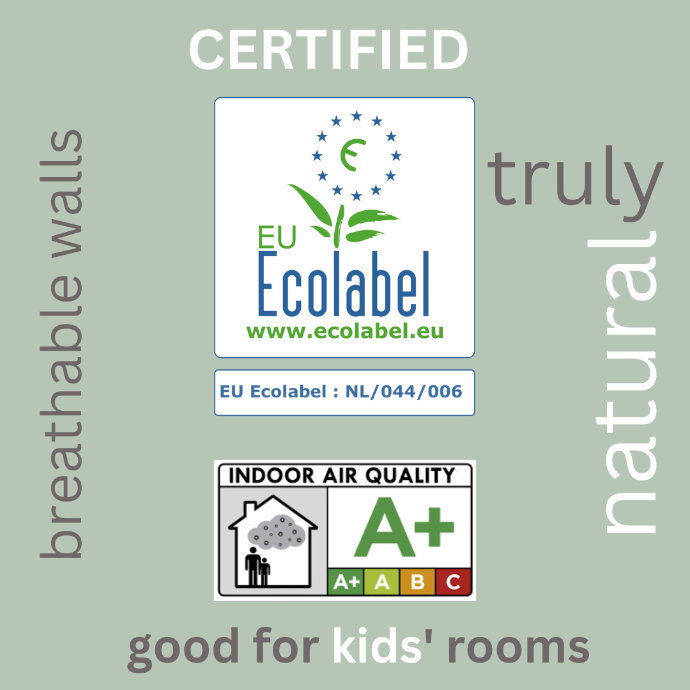
Natural and Safe: Vintage Paint is Ecolabel certified meaning it has passed rigorous environmental standards. Additionally, it has an A+ air quality rating, which means that it emits very low levels of harmful VOCs (volatile organic compounds). This makes it a great option for those who are sensitive to chemicals or have concerns about indoor air quality. By choosing Vintage chalk paint for your home, you can enjoy not only a stunning result but also peace of mind, knowing that you are making a responsible and safe choice for your environment and your health.
Versatile Application: It can be applied with a brush, foam roller, sponges, or decorative tools to create unique effects.
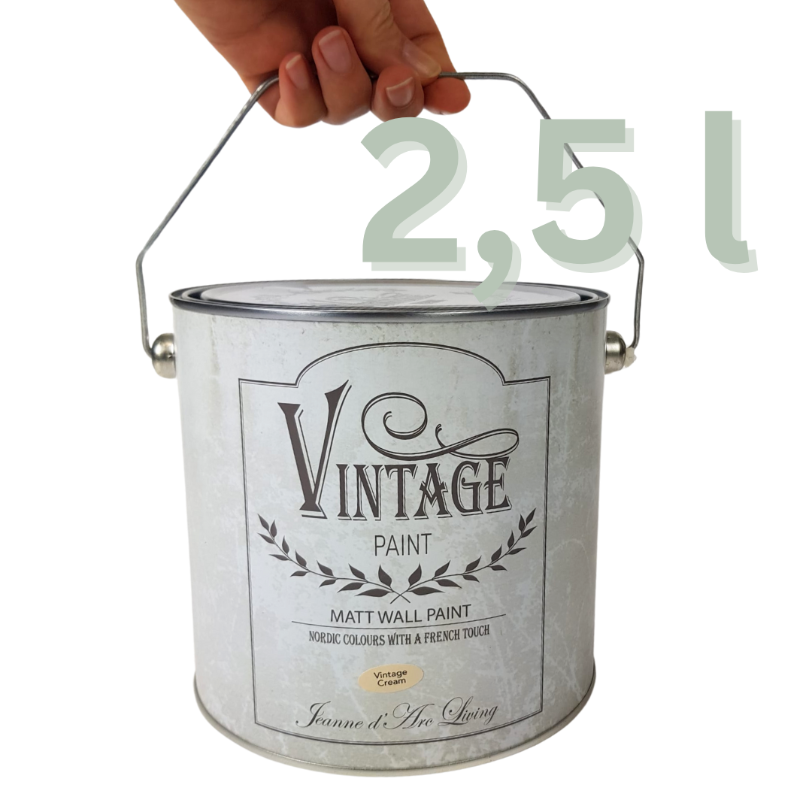
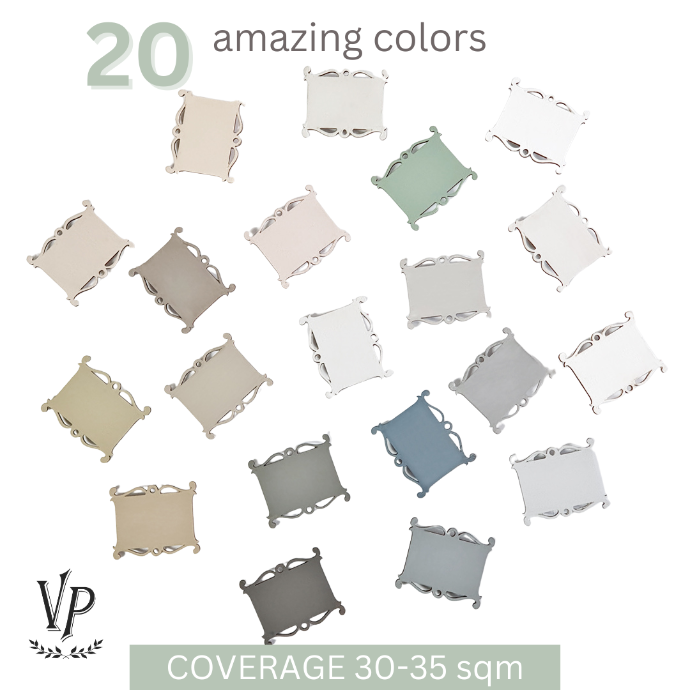
Excellent Coverage: a 2.5L tin covers approximately 30-35 square meters per coat, depending on the surface porosity.


How to Use Vintage chalk Paint on walls
Step 1: Prepare the Surface
Before applying Vintage Paint, make sure your walls are clean and dry. Remove any dirt, dust, or loose paint. This will help ensure that Vintage Paint sticks properly. Patch any holes or imperfections to ensure a smooth base for the new paint.
Step 2: Select Your Colours
Vintage chalk Paint 2,5 l comes in 20 beautiful shades, ranging from muted pastels to rich earthy tones. Choose a color palette that matches your style and complements your existing decor. If you're unsure, opt for classic neutrals like off-white, beige, or grey.


Step 3: Apply the Paint
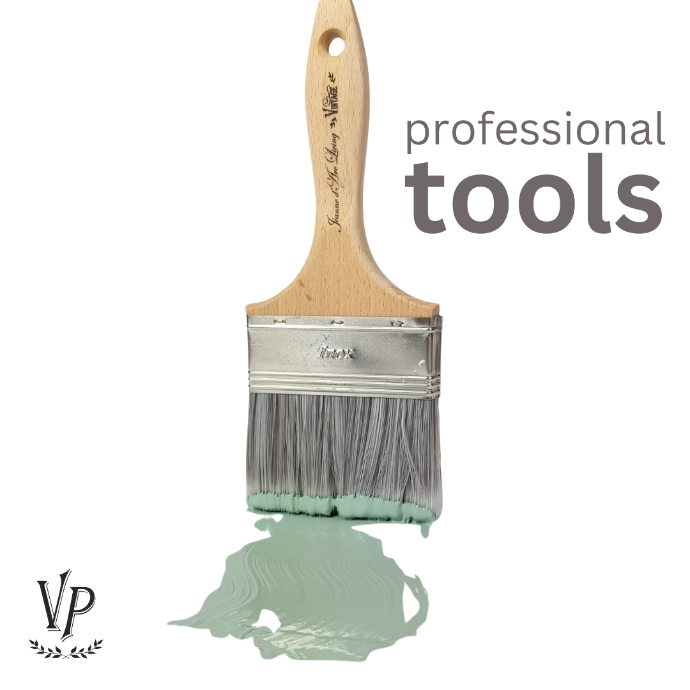
You can apply Vintage Paint by brush or roller. Be sure to use a high-quality brush designed specifically for Vintage Paint. The brush is more important than you might think ! With a good brush you save money because you use less paint and the painting process is faster, lighter and you get a smoother result.
You can dip the brush or roller in a drop of water before applying the paint to make it smoother. Alternatively, you can dilute the paint with a small amount of water and mix it very well. Diluted paint should be used immediately, as it cannot be stored for long
Step 4: Create Texture
If you go for a vintage look, consider adding texture to your walls. You can achieve this by using a variety of techniques such as dry brushing, cross-hatching, or even using a sponge or rag to dab the paint onto the surface. If you want the paint to be thicker you can mix it with some Structure Powder. Experiment with different techniques to find the one that best suits your desired aesthetic.
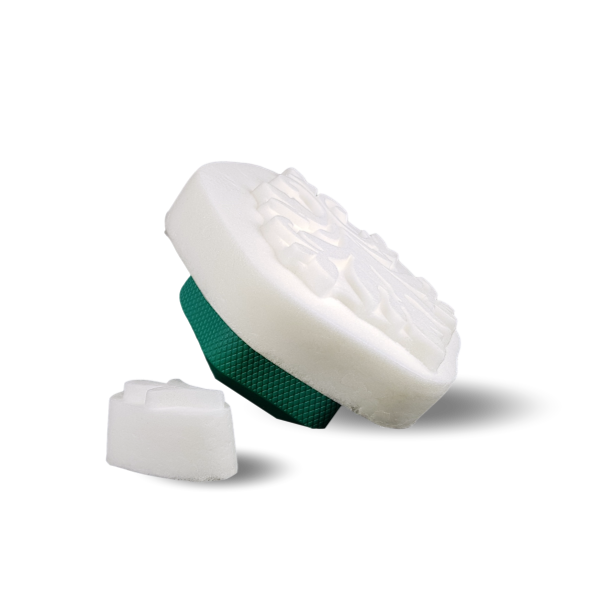
In the photo: our big Foam Stencil is great to decorate walls
Step 5: Seal Vintage Paint
if you want your walls to be washable, you can apply some clear wax or use our Primer|Sealer . This also helps to protect the paint and give it a longer lifespan,
This step is optional if you don't need to wash your walls.
Inspiratonal gallery of walls painted with Vintage chalk Paint:


For more inspiration go and check our social media pages:
