Are you tired of the same old, uninspired tile look in your home? Get ready to see how Vintage Paint can change everything. This versatile paint can change the look of tiles in many home areas, like the bathroom and kitchen. It's great for updating old backsplashes or making your bathroom look stylish. It opens up many creative options for you. But you might wonder, can Vintage Paint really work its magic on tiles? Let's find out how to use it on your tiles.


Vintage Paint Advantages for Tile Projects
Vintage Paint is a special natural chalk paint that gives tiles a smooth, velvety feel. It's great for tile projects because it's easy to use and is Ecolabel certified.
Using Vintage Paint makes it simple and cheap to change your tiles quickly.
Preparing Tiles for Application
Step 1: Understand Your Surface
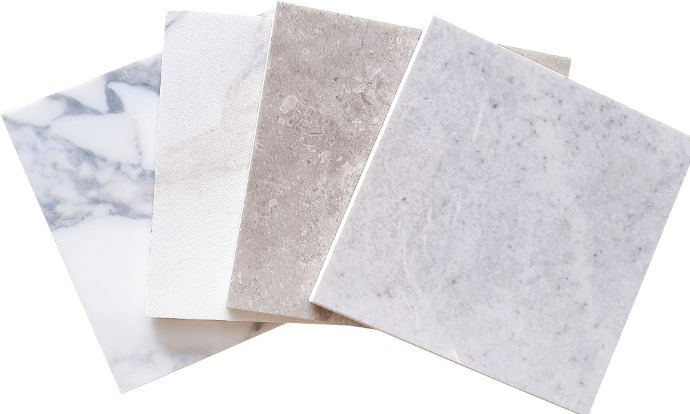
Before starting any tile painting project, it’s crucial to determine if your tiles are suitable for painting and how well the finish will endure over time. Not all tiles are the same; while some surfaces may hold up well for many years, others might show signs of wear more quickly.
Paint adheres best to matte, unsealed tiles, ideally with a slight texture. Vinyl tiles or flooring also accept paint well. If these are installed in your home, they could be a good option for painting. On the other hand, if you have tiles with a very shiny or smooth, sealed surface, it's important to be cautious. Most shiny tiles can still be painted with some extra preparation, but they may wear down more quickly than matte surfaces, especially if they are in high-traffic areas. If this describes your tiles, it's wise to adjust your expectations, knowing that they may need repainting or replacement eventually.
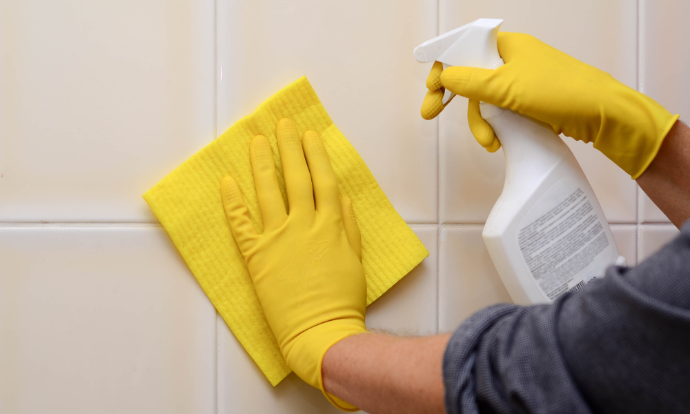
Step 2: Cleaning and Degreasing the Tiles
First, clean your tiles well. Remove dirt, grease, or residue with a degreaser or mild detergent. Then rinse your surface well with water to remove any cleaning product residue and let the tiles dry.
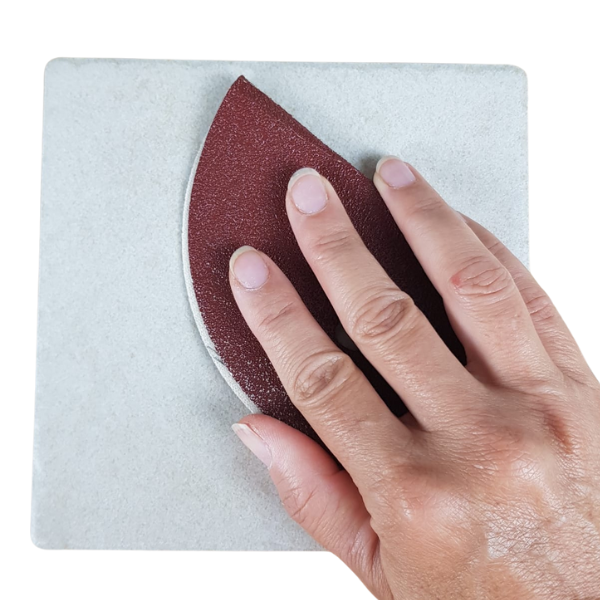
Step 3: Sanding
Sand the tile surface lightly to make it matte and help the paint stick better. Wipe off dust or debris with a clean cloth.

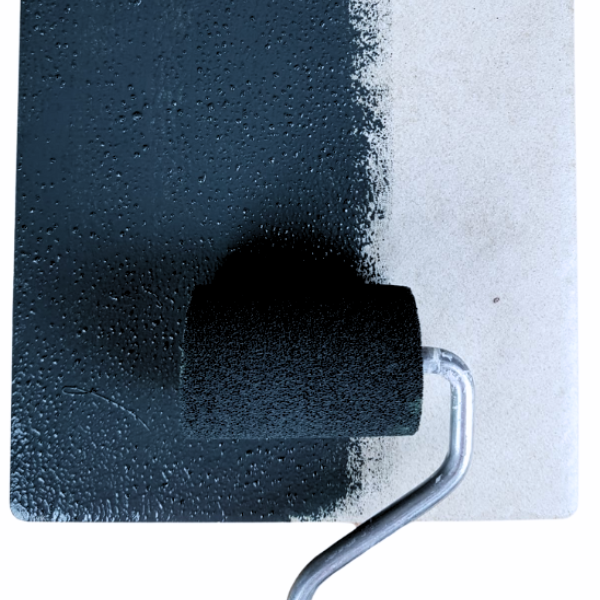
Step 4: Applying Primer&Sealer
Although Vintage Paint has great adhesive qualities on its own, tile is a very slippery, smooth surface to work with, so paint has a harder time gripping onto it than a more porous surface. In order to give the paint something to really grab onto, start by applying 1-2 coats of our Primer&Sealer.
Applying Vintage Paint on Tiles
Use a paintbrush or roller for a thin, even coat, working in small sections for a smooth finish.
Wait for the first coat to dry before adding a second coat for better coverage. Two coats are usually enough for full coverage and an even finish, but sometimes an extra coat or two is required, depending on colour and application.
Sealing and Protecting Painted Tiles
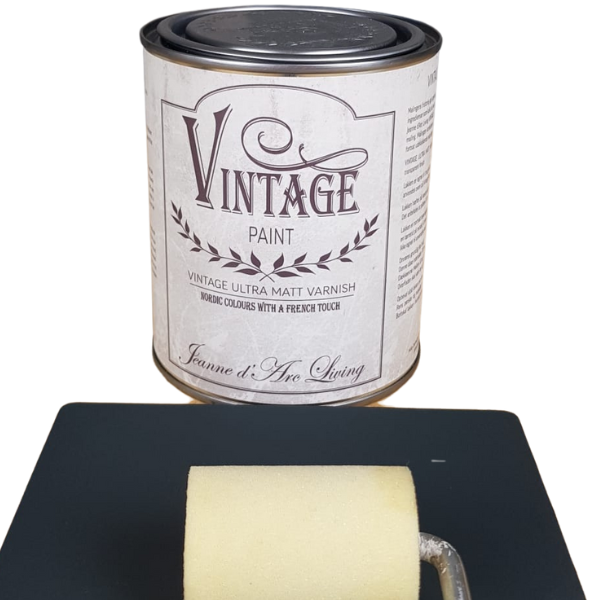
When you use Vintage Paint on tiles, it's important to seal and protect them to make them more resistant to daily wear and look great for a long time. For sealing your tile painting, choose our transparent Ultra Matt Varnish. Apply it in thin, even coats, allowing each layer to dry before adding the next.
For busy areas like bathroom tiles or a kitchen backsplash, use more coats for extra protection. Wait for the final coat to dry very well before using the space again.
Maintenance and Care Tips
Keeping your Vintage-painted tiles clean is important for their look. Use a mild cleaner and a soft cloth or sponge instead. Wipe gently and don't soak the paint. Avoid harsh chemicals, rough scrubbers or abrasive cleaners. With proper care and protection, your Vintage Paint on tiles will stay beautiful for many years.
You can consider to reapply Ultra Matt Varnish every 1-2 years or when needed to keep the tiles safe from damage.
Use mats or rugs in busy spots to reduce wear on the painted tiles.
Chips or scratches might happen on your chalk-painted tiles over time. Fix them by lightly sanding the area and adding a thin layer of Vintage Paint. Make sure it blends well with the rest. Then, let the paint dry before sealing it again.
Choosing the Right Colors
Finding the perfect colors is crucial for a beautiful makeover. Whether it's your bathroom tiles or kitchen backsplash, the right colors can change everything. They make your space look cohesive and stunning.
Start by matching Vintage Paint colors with your decor style.
Our hand painted colour chart is a big help.
Choose colors that fit well with what you already have. For a modern look, soft neutrals like white, gray, or beige work great. If you prefer a bohemian style, try deep blues, earthy greens, or rich mustard for a pop of personality.

Inspirational Ideas and Design Tips
Using Vintage Paint on your tiles opens up a world of creative possibilities. By using different techniques, you can make your chalk-painted tiles stand out and match your decor style. You can achieve a distressed or aged look that adds vintage or rustic charm. You can add coloured wax for a vintage look. Or you can consider creating a stunning effect layering different colors. Tile also presents a great opportunity to have some fun with stencils or pattern rollers.
Let your creativity flow as you explore various ideas to refresh your home with Vintage Paint!


