Are you looking for a way to add unique, personalized touches to your home décor? Do you love the look of intricate wood carvings but lack the time or skills for traditional woodworking?
If so, then Woodwill mouldable mouldings might be just what you need!
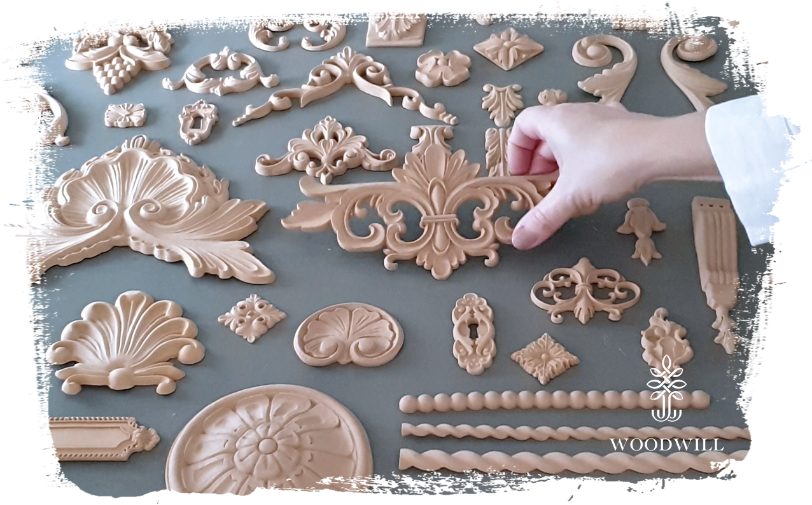
What are Woodwill Flexible Mouldings?
Woodwill mouldings are decorative mouldings that offer a revolutionary approach to embellishing furniture, walls, and various other surfaces.
Unlike traditional, rigid wood carvings, Woodwill mouldings are flexible and can be easily shaped to fit any contour or curve. This opens up a world of creative possibilities!
The secret behind Woodwill lies in its unique material composition. While the exact composition is proprietary, the key is that it becomes pliable when heated. This allows you to bend, twist, and shape the moulding to your desired form.
Why choose Woodwill flexible mouldings?

Easy to apply: simply heat, shape, glue, and paint.
Versatile design options: available in various styles and sizes to suit different projects.
Strong adhesion: ensures a secure bond on wood, metal, plastic, and more.
Paintable & customizable: compatible with Vintage Paint and other chalk paints for a unique finish.
Durability & Flexibility: remains sturdy once applied while offering the flexibility needed for curved surfaces.
How to apply Woodwill mouldings – step by step

Heat the moulding – use a hairdryer or heat gun to warm the entire moulding. This makes it flexible and easy to shape.
 Shape & Position – once heated, place the moulding on the desired surface, adjusting its shape to fit perfectly.

Apply wood glue – spread an even layer of wood glue on the back of the moulding or directly on the surface.
 Spread the glue
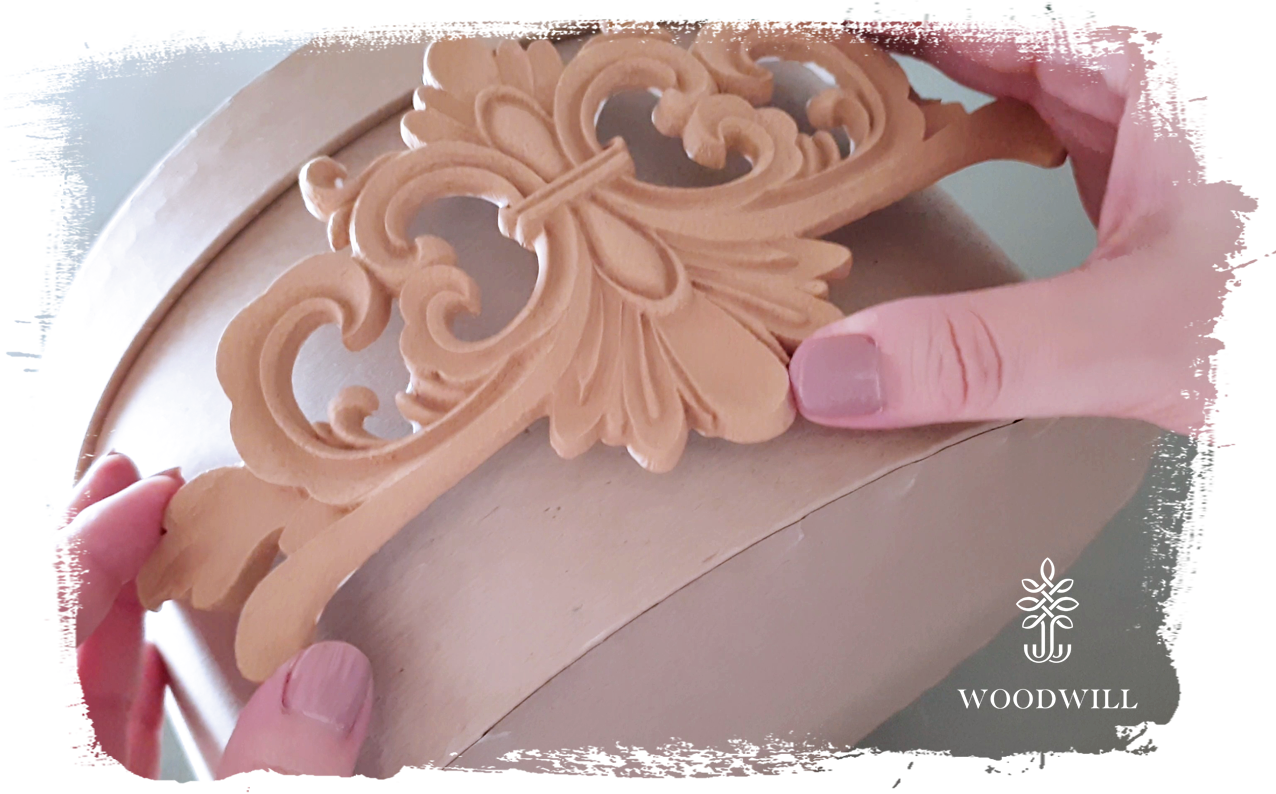
Press & Hold – secure the moulding in place, pressing firmly to ensure good adhesion.
 Fix with masking tape – while the glue dries, use masking tape to hold the moulding in position.
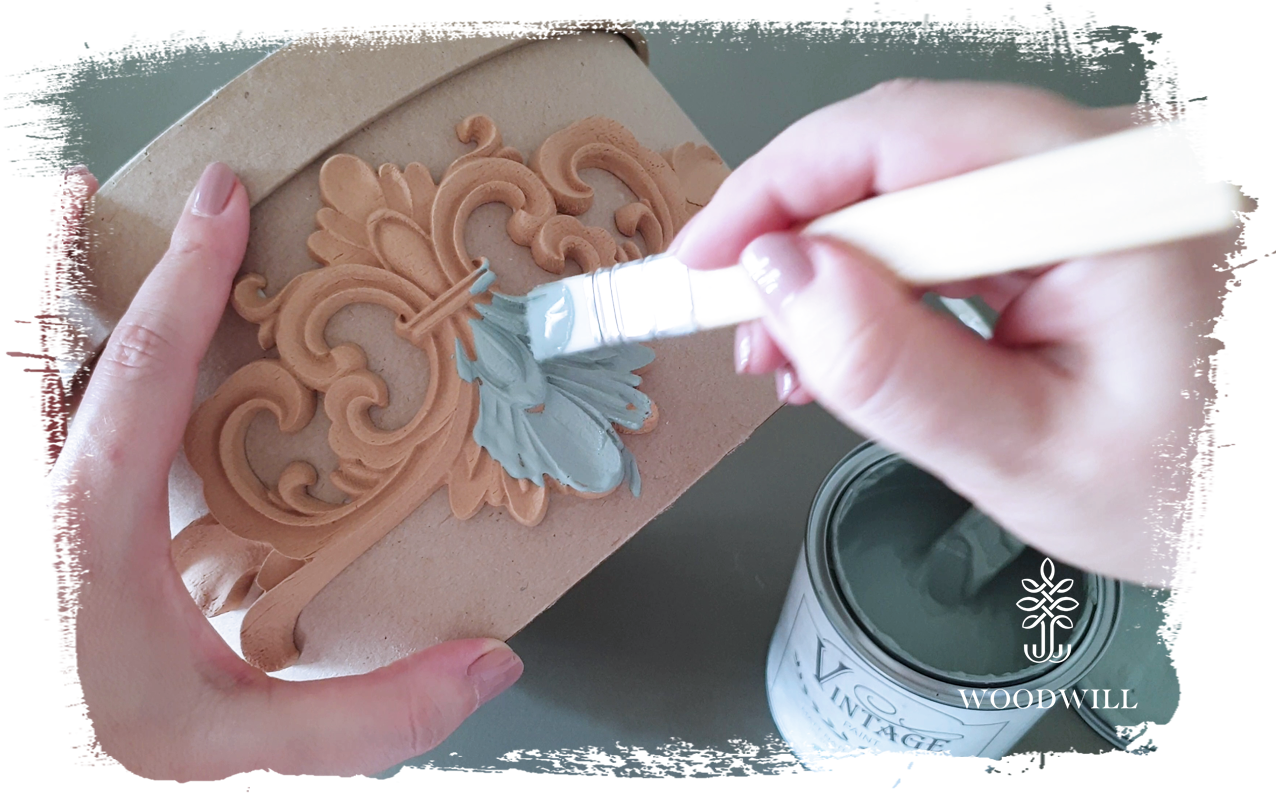
Paint – once dry, the moulding is ready to be painted to match or contrast with your furniture.
 Finish - highlight it with coloured wax or using a technique like dry brush.
Creative applications of Woodwill mouldings
The versatility of Woodwill mouldings makes them suitable for a wide range of projects, including:
Furniture makeovers: add decorative accents to dressers, tables, and chairs. Breathe new life into old or plain furniture.
Wall décor: create unique wall panels, frames, or borders.
DIY crafts: incorporate Woodwill mouldings into various craft projects, such as scrapbooking, mixed media art, and more.


Tips and tricks for working with Woodwill
Heat evenly: ensure the moulding is heated evenly to prevent brittleness or cracking.
Work in sections: for complex shapes, work in small sections, heating and shaping the moulding gradually.
Use the right glue: wood glue is generally recommended for adhering Woodwill mouldings to most surfaces.
Unrolling decorative borders: heat the entire roll before unrolling. Only unroll the length you need and leave the rest rolled up, heating and unrolling as needed. Cut the heated border with scissors or a sharp knife.
Joining pieces: heat the ends of the two pieces to be joined. Apply wood glue to both ends, press them together, and secure with painter's tape until the glue dries.
Repairing broken mouldings: heat the broken parts, apply wood glue, press them together, remove excess glue, and hold until cool and firmly attached.
Removing Woodwill from a surface: heat the moulding. Slide a thin spatula or knife under the heated moulding when it becomes soft. Gently detach the moulding from the surface. (Note: Removing moulding from painted surfaces may damage the paint.)
Don't be afraid to experiment: try different techniques and finishes to achieve your desired look.