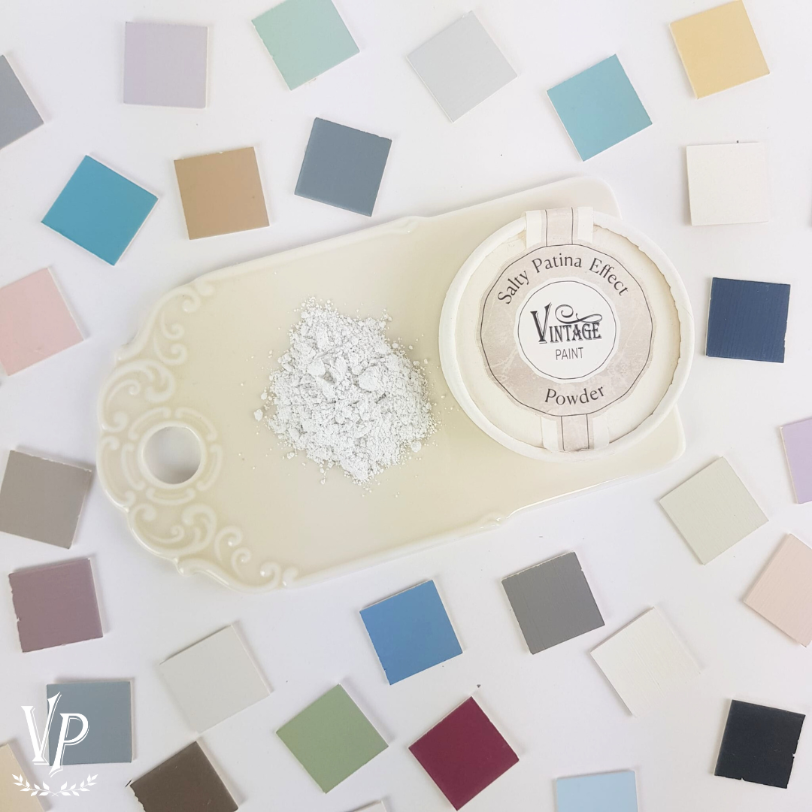
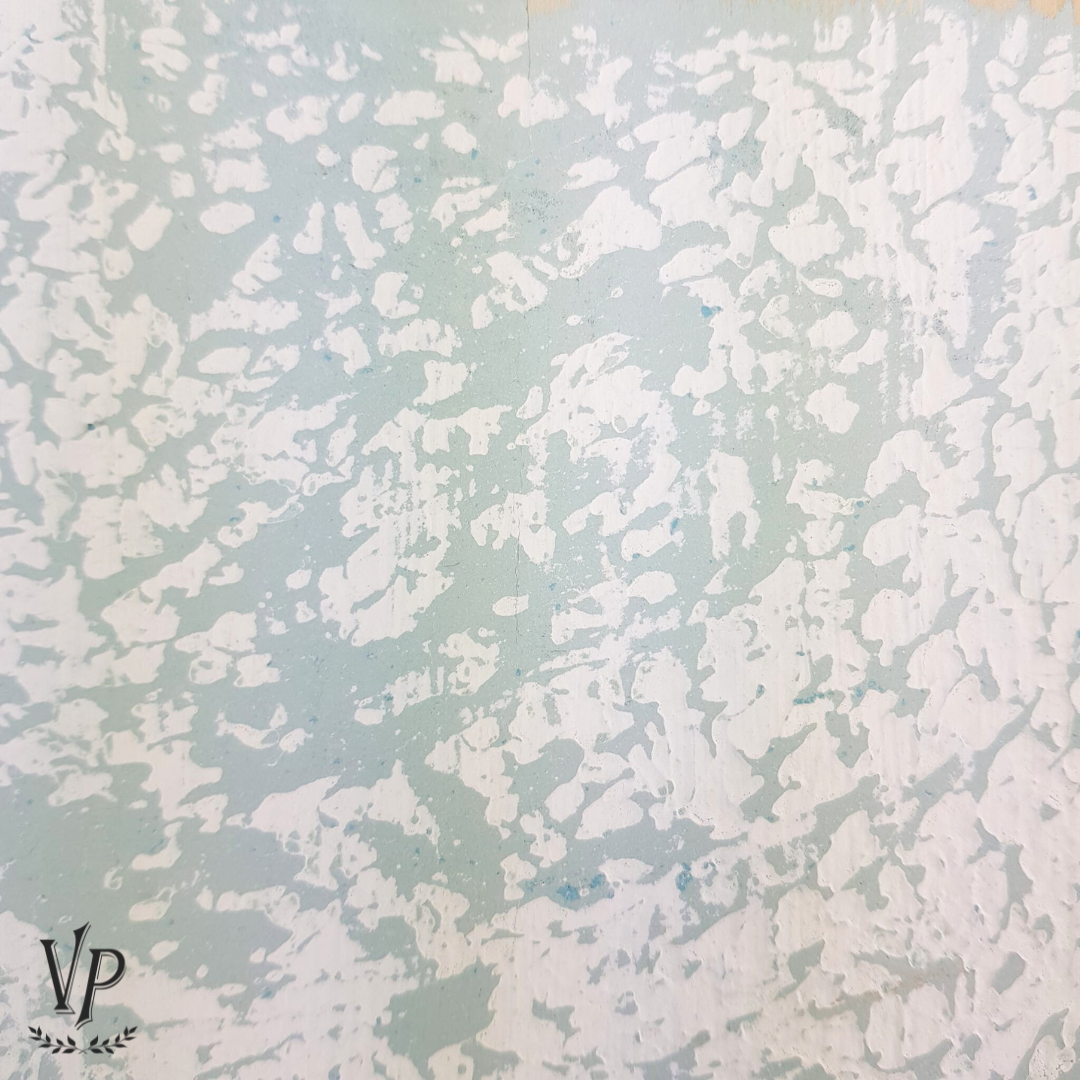
Transport your furniture back in time with our Salty Patina Effect Powder, formulated with a blend of salts and minerals: it allows you to achieve a unique weather worn, layered sun and salt air soaked look in a few quick steps.
Think of those beautifully weathered, crackled surfaces that immediately evoke images of aged, weather-beaten wood. That's the allure of our Salty Patina Effect Powder – it captures the essence of time-worn beauty in every application.

Perfect for creating pronounced, textured, multi-layered surfaces, our powder adds depth and character to any project. Plus, since it's pigment-free, it won't alter the color of Vintage Paint when mixed, ensuring consistent results every time.
With its simple application process, even novices can achieve professional-looking results. So, whether you're a seasoned pro or a DIY enthusiast, our Salty Patina Effect Powder is your secret weapon for creating captivating furniture makeovers.


The Salty Patina Effect Powder is packaged in eco-friendly paper jars that are fully recyclable and comes with attached usage instructions.


Here are some examples of the final effect you can achieve by using the Salty Patina Effect Powder with two contrasting colors of Vintage Paint.


Steps to Achieve a layered sun and salt air soaked look on your furniture
Step 1
The first step is to pick the Vintage Paint colour of your choice: the base colour. Here we choose Olive Green.
Pour paint into a mixing container first and gradually add Salty Patina Effect Powder. We suggest to add a small amount of powder at a time until you achieve the right consistency, a dense and soft paste with a thick frosting consistency.
Mix carefully until the powder and paint are thoroughly combined. Vintage Paint is a natural chalk-based paint, and its density can vary depending on the pigment content and when it was produced. Therefore, the amount of powder needed is not always the same. There are no hard rules.


Step 2
Next step, use your paintbrush (or a sponge or a spatula) to paint your piece in a dabbing method to create a rough texture. While you may probably think it is not looking that great, don't panic! It is not meant to look pretty here. When your paint is halfway dry, softly smooth out the texture with your paint brush.
Do not create too much paste at once as it dries quickly; if you need to cover large surfaces, work in sections.


Step 3
When the surface is dry you can apply a new coat of Vintage Paint in a contrasting color. Pure Vintage Paint, not mixed with the powder. Here we choose French Beige.
.When your final coat is dry, use sand paper or a scraping tool to remove the paint and reveal the underlying colour.
Sanding plays a key role in achieving that perfect finish. It's the moment when the layers of your project truly come to life, unveiling the stunning results of your hard work. Therefore, it's essential to pay close attention to this step. Exercise caution while scraping, ensuring you only remove paint in the areas where you want the pattern to be revealed and where you added the most texture.
Even after scraping, the finish may still be quite rough. Consider giving it a thorough sanding using sandpaper, a sanding block, or an electric sander for a quicker job.
You can repeat step 2 several times adding more colours.
You can opt for full coverage or a random pattern, depending on the result you want to achieve.


After sanding the paint layers, if you're aiming for an even more authentic aged patina, consider applying some Antique natural wax – brown or black- to your piece. Gently wipe the wax across the surface, allowing it to settle into the crevices of the powder layers. The wax accentuates all the valleys and indentions, adding a beautiful depth and dimension. Then, carefully wipe off any excess wax with a clean, soft rag. This additional step adds depth and character to your project, enhancing its overall appearance and giving it that extra touch of authenticity.
Inspiratonal gallery of furniture makeovers with Salty Patina Effect Powder


